Soft, Chewy Breadsticks
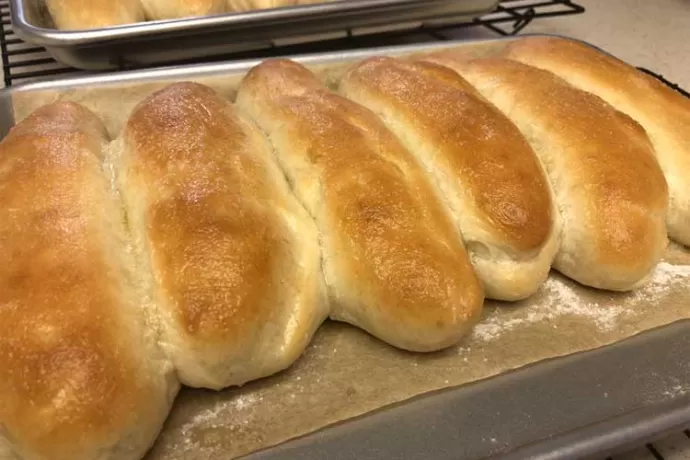
These garlic-y soft breadsticks were the perfect complement to our Thanksgiving feast this year. There’s something about homemade bread that brings joy to the table and homemade breadsticks are pure happiness packed into a small package.
When a loaf of homemade bread is just out of the oven and the whole house is filled with the smell of freshly baked bread, it’s a kind of torture to wait to eat it until it’s cooled enough to slice. But you know it’s worth the wait when you spread fresh butter on a slice and take that first bite...a soft, warm, yeasty slip of heaven.
“All sorrows are less with bread.” Miguel de Cervantes
The whole process of making bread is magical. While I’m in the thick of it, I feel like I’ve become part of a different world...a world where you can’t have what you want right away. You have to be patient and wait for the dough to come together and then rise on its own, in a warm, moist place. Once that’s done, it needs to be shaped into loaves or braided or rolled into breadsticks. Follow that with another time of waiting for it to rise before you can pop it into the oven and let it bake. After hours of being patient, it seems that waiting a few minutes for the fragrant loaf to cool down enough to eat would seem like an easy thing to do. But that’s when it’s the most difficult. I’ve already waited long enough! I have to remind myself that this last stretch of patience is essential. No time to give in now. Soon enough you’ll have that moment of bliss when the bread is finally ready to eat.
Bread specifics
Copycat Olive Garden Breadsticks. If you’ve every eaten at the Olive Garden, you know how delicious their breadsticks are. Many thanks to Tessa Arias (Handle The Heat) for these divine breadsticks...buttery, garlic-y, chewy and so soft and fluffy. They satisfy every bread-related longing you may have and they are ready to eat in a little over 3 hours.
Shape
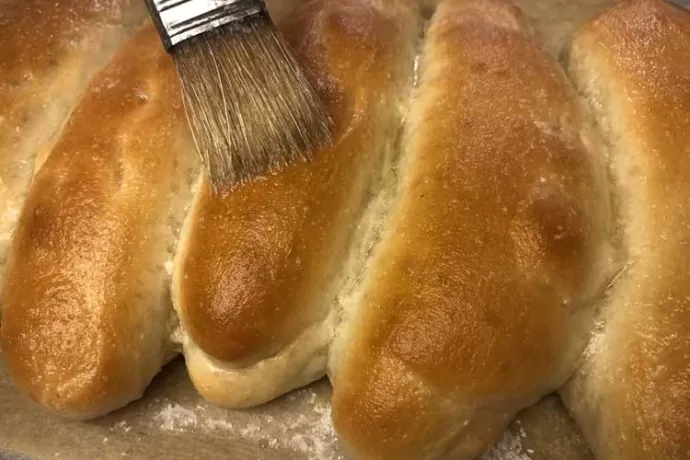
Each piece of dough is rolled into a log about 7 inches long. After rising, each breadstick is about 1½ to 2 inches wide by about 8½ inches long. Occasionally, I'll divide the dough into three pieces and braid the breadsticks instead of just leaving them as logs. It makes for a pretty change of pace.
Serving Size
This recipe makes 12 breadsticks.
Bread Recipe from This Talented Baker
Copycat Olive Garden Breadsticks. Original recipe from Handle the Heat with Tessa Arias.
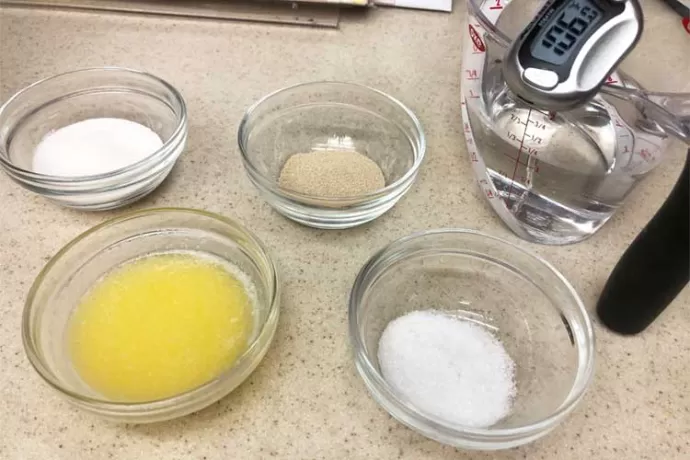
Copycat Olive Garden Breadsticks: warm water, instant yeast, granulated sugar, unsalted butter, kosher salt, bread flour
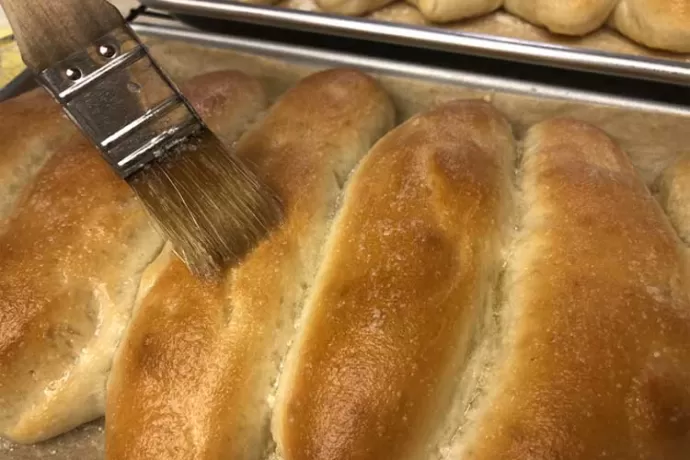
Topping: unsalted butter, kosher salt, garlic powder
Substitutions, Bread Proofing, Bake Ahead
Substitutions. Sometimes for the topping, I’ll use butter and garlic salt (and omit the kosher salt, of course). It’s a quick substitution.
Warm Environment. I don’t have a gas stove so there’s no pilot light to create a warm place for bread to rise. I finally gave in and bought a Brod & Taylor Folding Proofer and I’m so pleased I did. It lets you create a warm, moist, and draft-free place for your bread to rise. It works so much better than a heating pad!
Make Ahead. I’ve tried making bread ahead of time and partially baking it so that I could finish the baking and be able to serve fresh, warm bread at a meal. But I was disappointed in the results. I may try again some day, but for now I’m sticking to the old-fashioned method of baking it ahead and warming it up in the oven for a few minutes before serving it.
What I’ve learned...
These breadsticks were made with the best ingredients I could find and baked in a small batch of one dozen. I’ve experimented with less expensive ingredients, but have come to the conclusion that flavor is best when I use the best. Why spend all this time baking if taste and texture are just so-so? Baking bread takes time, but it’s an enjoyable process for me and I know that those who eat it appreciate that. Life is just better when you can share something you love with someone you love. Don’t you agree?

Add new comment